
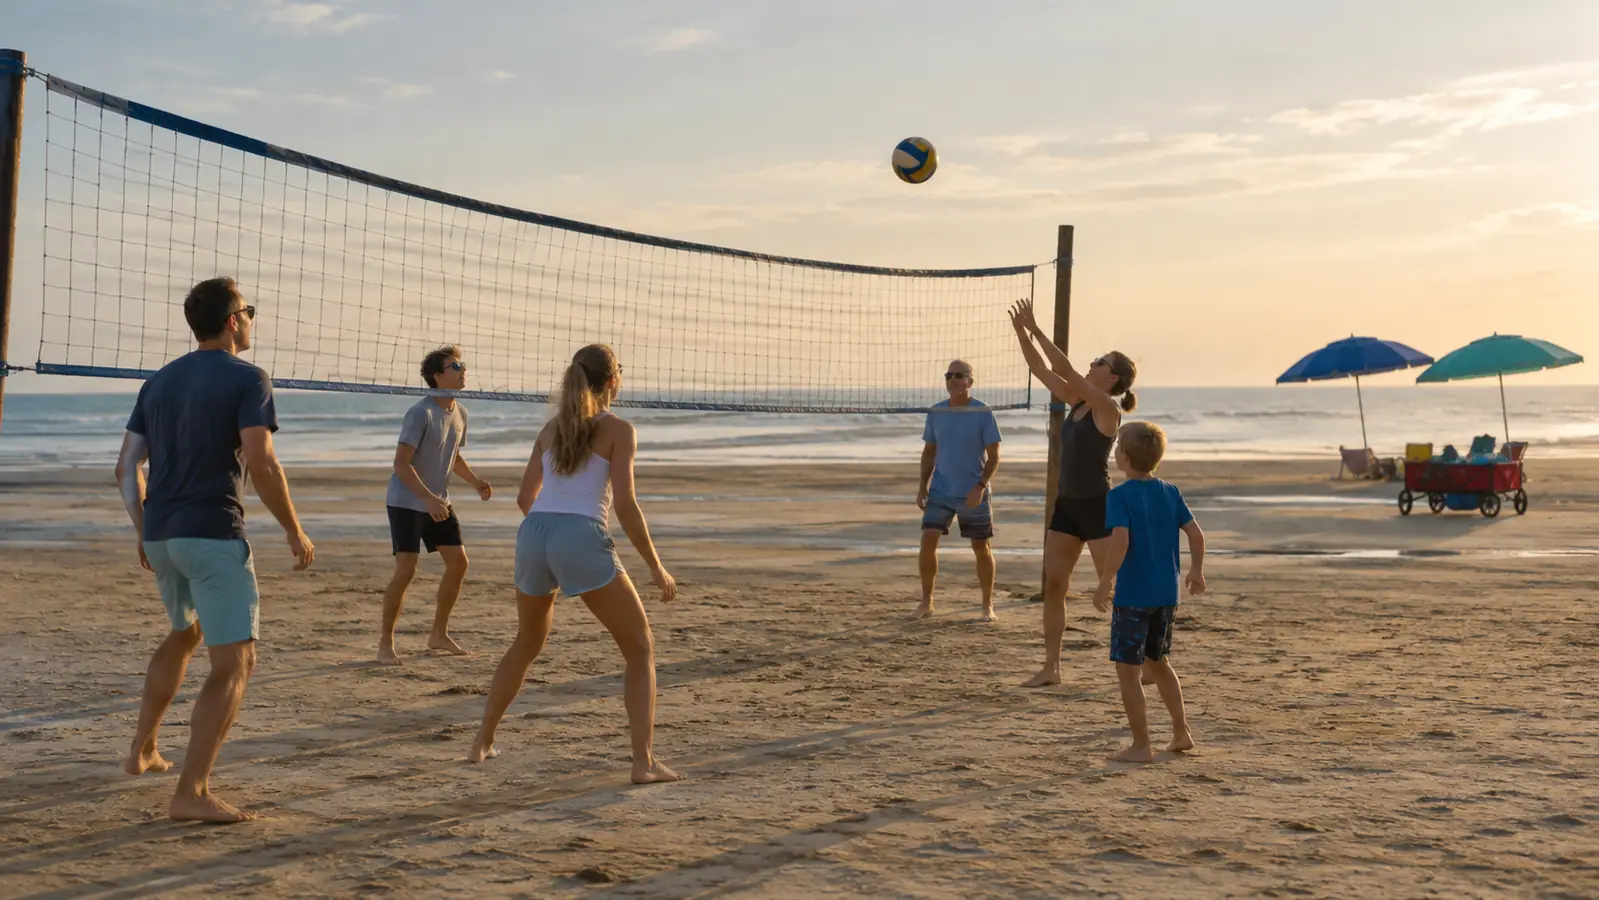
The first time Walt and I brought a volleyball net to the beach, we spent most of the afternoon arguing with it. The poles slid sideways in the sand the moment anyone hit the ball, the net drooped down to knee height in the middle, and by the time we had it sort of standing, the grandkids had wandered off to the water and found a better game. I told myself there had to be a better way, and there was. It just takes a little know-how and a net that is built for sand in the first place. This is the method we have used all summer.
I am going to walk you through the setup the same way I would if we were standing on the sand together, with the two umbrellas behind us and the cooler within reach. The system we use is the Zdgao volleyball net, and once you have done this a few times it takes about twenty minutes from wagon to first serve. Most of that time is spent on the steps people skip, which is exactly why those steps are the ones that matter. The order matters more than you would think, and a few of these steps are the kind of thing you only learn by watching a net blow over.
A beach net that actually stays put
The Zdgao system comes with fillable bases and guide ropes, which makes the whole setup more stable than the cheap sets we tried in past summers. If you are shopping for a beach net, this is the one I would start with. It has held up to a full season of sand, salt, and family rallies.
Amazon Check Today's Price on Amazon →Step 1: Find the right patch of sand
The biggest mistake people make is setting up on a slope. Sand that looks flat from a distance often has a gentle tilt to it, and a tilted court makes every rally feel unfair because one side is always running uphill. Walk the whole area before you commit. You want packed, level sand with no driftwood, shell beds, or half-melted sand castles waiting to roll under someone's foot. The wide, flat sand near the water at low tide is our usual spot, because it is firm underfoot and gives us the most room for a proper court.
Tide matters more than people think. If you set up too close to the high tide line, the incoming water will chase you mid-game and you will spend the afternoon moving the whole rig. Give yourself a buffer of at least fifteen feet from where the wet sand starts. Also check the wind before you pick the exact angle. A net that runs across the wind will flap far less than one that runs straight into it, so rotate the court a little if the breeze is strong. Wind is the thing that defeats most beach nets, and a small adjustment at this stage saves a lot of frustration later.
One more thing: face the sun. If the afternoon sun sits low over the water, position the court so nobody has to serve into a glare. That sounds like a small detail, but it is the difference between a relaxed family game and an hour of squinting and shanked serves. The grandkids will not thank you for thinking about it, but they will play longer, and so will the adults. Take the extra minute to get the layout right before you start building.
Step 2: Lay out the pieces and fill the bases
The Zdgao set comes with everything packed in one bag, which is a relief when you are pulling it out of the wagon on a warm morning. Spread the pieces out on the sand in the order you need them: the two bases, the two poles, the net, the guide ropes, and the stakes. Do a quick count before you start so nothing gets buried in the shuffle. Sand has a way of swallowing small pieces the moment you look away, and nobody wants to hunt for a missing stake while the net is half up.
Fill the base plates with sand before you stand anything up. This is the step people skip, and it is the step that makes the difference between a net that stays put and a net that wanders. A base filled with sand weighs enough to hold the pole steady when someone digs hard at the net or dives for a ball. Scoop the sand in with your hands or a small shovel, pack it down as you go, and fill it close to the top. Do both bases before you move on, and tap the sides to settle the sand so there are no air pockets.
Position the bases before you attach anything, and measure the distance between them while you can still move them easily. For a regulation court, the posts should be about thirty feet apart. For casual family play, a shorter court keeps the rallies going and saves a lot of running for the older folks. We usually start shorter for the grandkids and widen it if the adults want a real game. You can always adjust, but it is much easier to measure once at the start than to redo it halfway through.
Step 3: Raise the poles and hang the net
Set each pole into its base and make sure it is seated all the way down before you lift. Then raise one side, then the other. It is much easier with two people, so grab whoever is nearby. Walt takes one pole and I take the other, and we lift together so the net does not drag across the sand and pick up grit. Dragging the net is the fastest way to get sand into the cable and clips, and that grit is what makes the adjustment mechanism stiff by August.
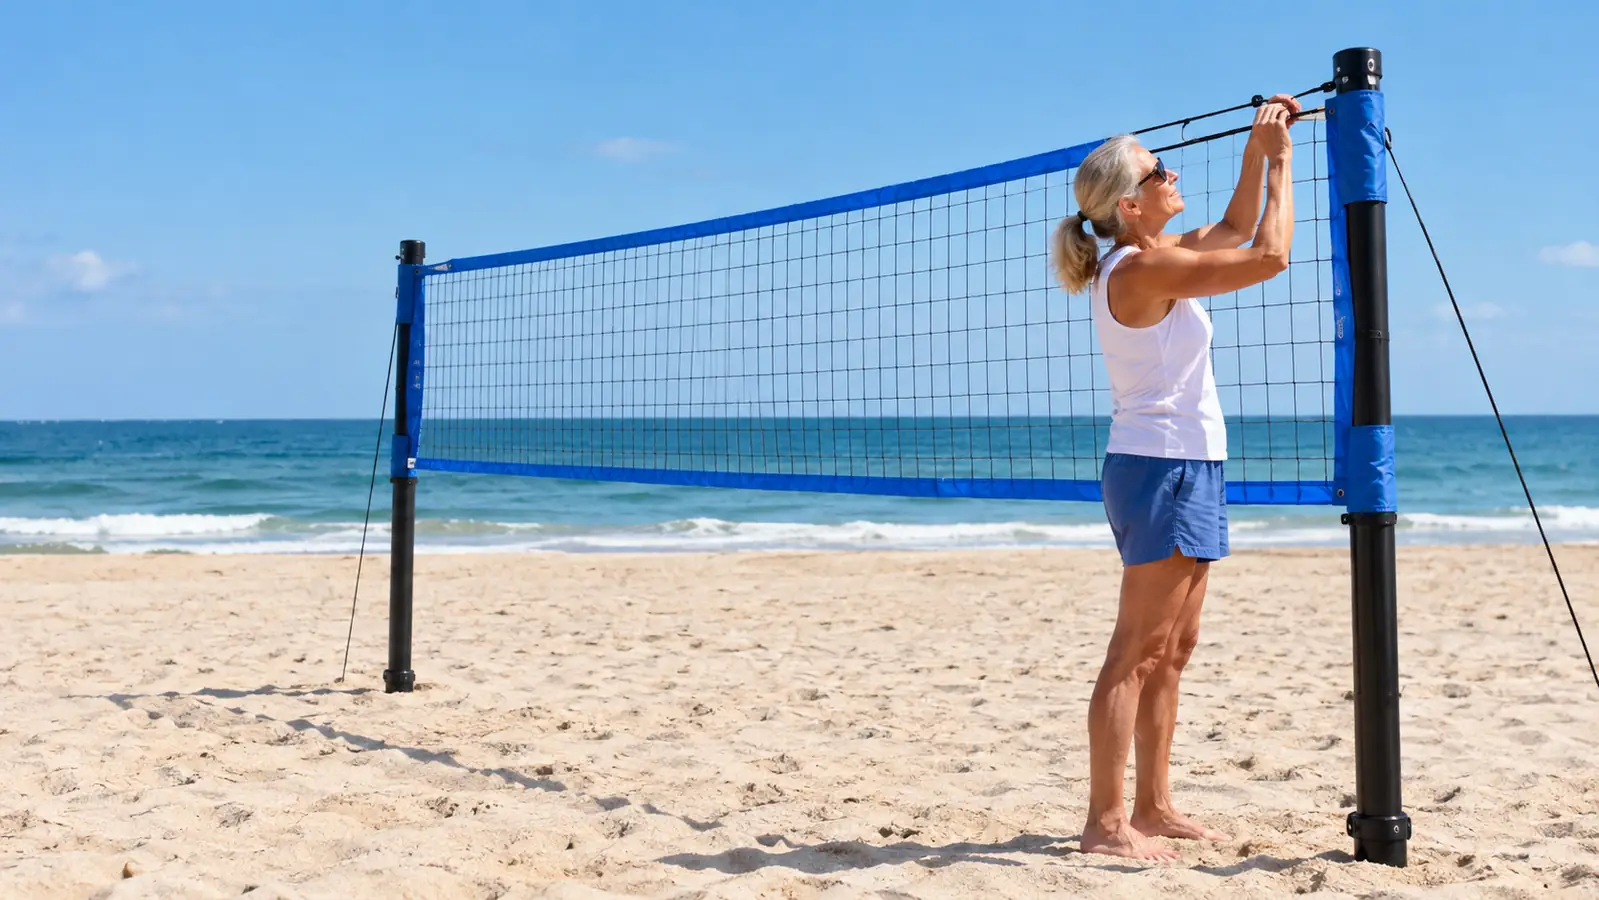
Attach the net to the poles next. The Zdgao net has a cable along the top and clips at each end. Hook the top corners first, then the bottom corners, then work your way along the middle. Get both sides to about the same height before you start tensioning. It is far easier to adjust the two sides together than to fight one side at a time while the other sags. We learned this after a few lopsided games where one side of the net sat a foot higher than the other.
A tip we learned the hard way: keep the net off the sand while you attach it. Lay it across your shoulder or have your partner hold the middle up while you work the clips. Sand that works its way into the netting is hard to get out, and it wears on the mesh over a summer of use. A clean net also plays better, because the ball comes off it more predictably, and it looks better in the family photos.
Step 4: Anchor the poles and tension the net
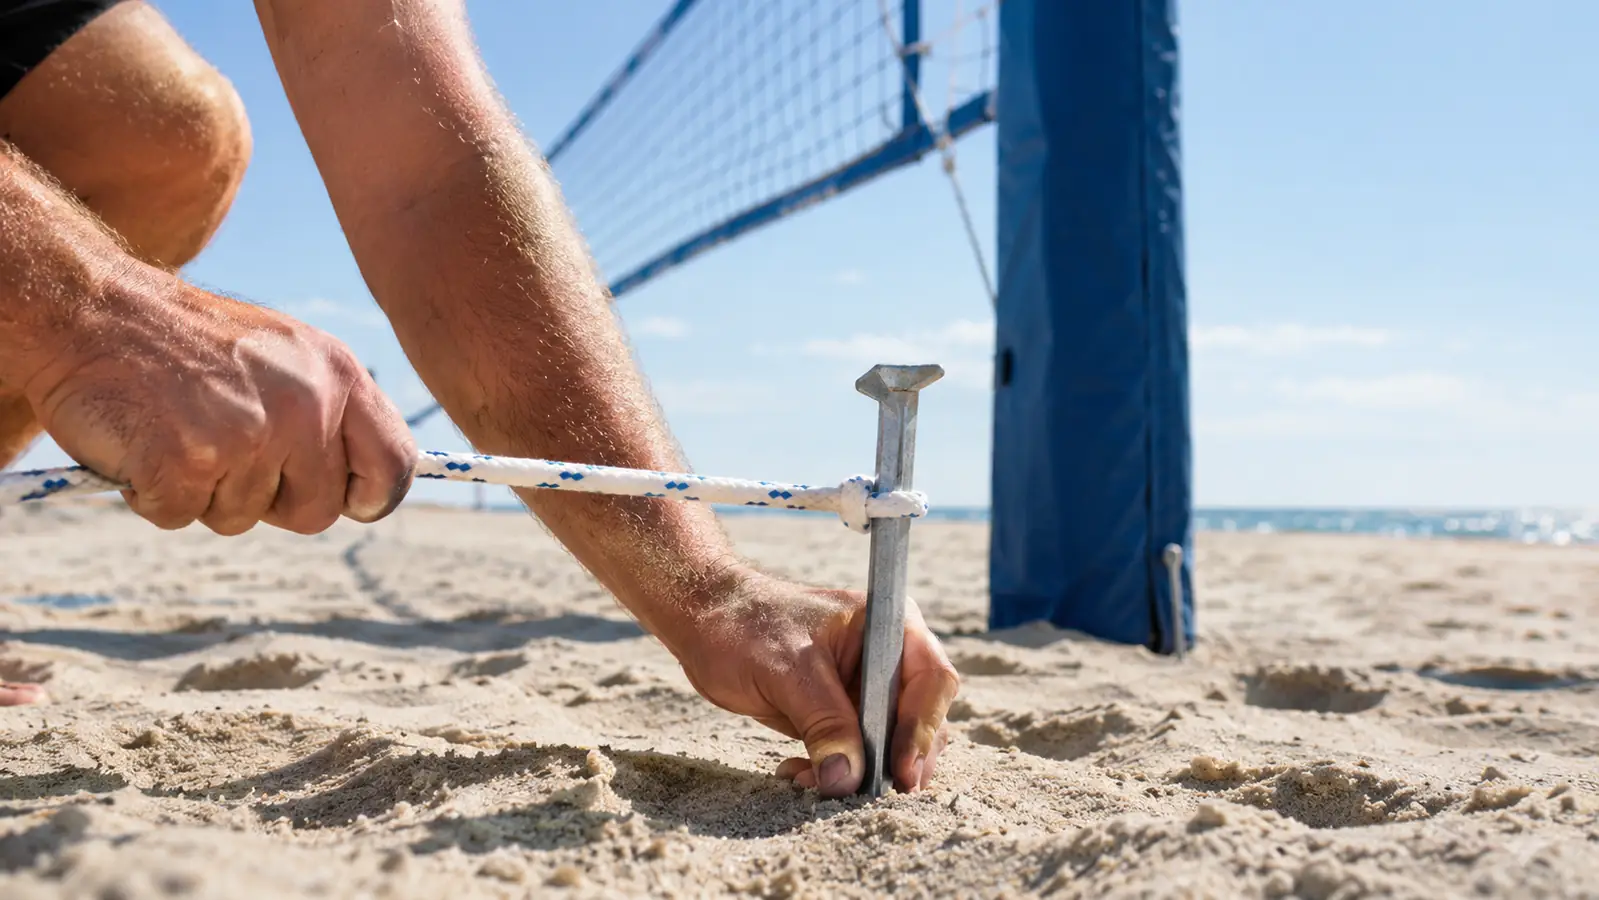
Here is where most beach nets fail. Even a filled base can shift in a gust, and a loose net sags in the middle until every hit dies on top of the tape. The Zdgao system includes guide ropes and stakes for this, and they are worth using every single time, even on a calm day. Run a rope out from each pole at an angle, stake it down firmly, and pull the slack out. The ropes do the work of holding the poles upright, and the sand in the bases keeps them from twisting.
Tension the net itself by raising the poles a little at a time, a few inches on one side, then a few on the other. The top of the net should be drum tight, with no sag across the middle. The bottom edge should keep a small bow, and that bow is normal and actually helpful. A net that is pulled too tight along the bottom will grab the ball and kill a good hit, while a net with a little give in the middle lets the ball pop through cleanly.
Give both poles one last check before you call it done. If either one has shifted, reset it now. Five minutes of fussing at this stage saves an afternoon of chasing a leaning net, and it keeps the game from turning into an argument about whose fault the sag is. This is also the moment to make sure the stakes are all the way in, so nobody trips over one during the first rally. Walk the full length of the court once, then you are ready.
Step 5: Set the height and mark the court
Set the net height to match the people playing. The official height for men is 7 feet 11 inches, and for women it is 7 feet 4 inches, but we rarely play that high. For the grandkids we drop it a foot or so, and for a mixed family game something around 7 feet keeps it fun for everyone. The Zdgao poles have adjustable settings, so you can change the height in about a minute. Let the youngest players have a say, because a net they can reach makes the game theirs.
Mark the boundaries with whatever is handy: a line of towels, a row of flip flops, or a shallow line scratched in the sand with your heel. The boundaries do not need to be official, but they do need to be agreed on before the first serve, or every close ball becomes an argument. We learned that one the hard way last July, when the grandkids were very sure about their line calls. A few visible markers settle most disputes before they start.
Finish with a short warm up. Hit the ball back and forth over the net a few times, see how it comes off the tape, and adjust the tension if the top still has too much give. Once the ball is popping cleanly over the net and the poles are not moving, you are ready. Call the first serve and let the afternoon take over. This is the part the grandkids wait for all week.
What Else Helps
A few extras make the whole afternoon smoother. Bring a small shovel or a sturdy scoop for filling the bases, because doing it by hand takes twice as long. A mallet works better than a shoe heel for driving the stakes, and it is easier on the wrists. Keep the carrying bag in the shade so it is not full of hot sand when you pack up, and give the net a quick rinse at the cottage spigot at the end of the day. Salt dries hard on the cable and clips, and a thirty second rinse keeps everything moving freely for the next trip.
I also keep a spare ball in the wagon. Beach balls drift, and one good gust can send the ball halfway to the water. Having a backup means the game does not have to end when someone shanks a serve into the surf. Tuck a bottle of water and a towel into the bag too, and you have everything you need for a full afternoon. The setup is simple enough that even the grandkids can help, and they love being the ones who pull the net out of the bag.
Once you have done it a few times, it takes about twenty minutes from wagon to first serve.
A net the whole family can set up
The Zdgao volleyball net system has spent the whole summer in our wagon, and it still looks and plays like new. If you want a net that stands up to sand, salt, and a few enthusiastic rallies, it is worth a closer look. It has become the favorite game in our beach bag.
Amazon Check Today's Price on Amazon →